
Lighting is arguably the most important element in portrait photography. It can make or break an image, transforming an ordinary portrait into something extraordinary. Whether you're working with natural light or a full studio setup, understanding how to manipulate light is essential for creating compelling portraits. In this comprehensive guide, we'll explore portrait lighting techniques from natural to studio environments.
Understanding Light Quality
Before diving into specific techniques, it's crucial to understand the fundamental qualities of light:
Hard vs. Soft Light
Hard light creates distinct, well-defined shadows with sharp edges. It comes from small, concentrated light sources like direct sunlight, a bare flash, or a spotlight. Soft light produces gentle, gradual shadows with soft edges. It comes from large light sources or diffused light, like an overcast sky, a large softbox, or light bouncing off a wall.
Generally, soft light is more flattering for portraits as it smooths skin texture and is more forgiving. Hard light can be used creatively for dramatic, high-contrast portraits.
Direction of Light
The direction from which light hits your subject dramatically affects the mood and feel of a portrait:
- Front lighting: Illuminates the subject evenly, minimizing shadows and texture
- Side lighting: Emphasizes texture and creates dimension through shadows
- Back lighting: Creates rim lighting or silhouettes, separating subject from background
- Top lighting: Creates dramatic shadows under eyes, nose, and chin
- Bottom lighting: Creates unusual, often dramatic or spooky effects
Quick Tip:
The larger your light source relative to your subject, the softer the light will be. To soften hard light, move it closer to your subject or use diffusion materials like softboxes, umbrellas, or even a white sheet.
Natural Light Portrait Techniques
Natural light is accessible, free, and can produce beautiful results when used correctly. Here's how to master it:
Golden Hour Magic
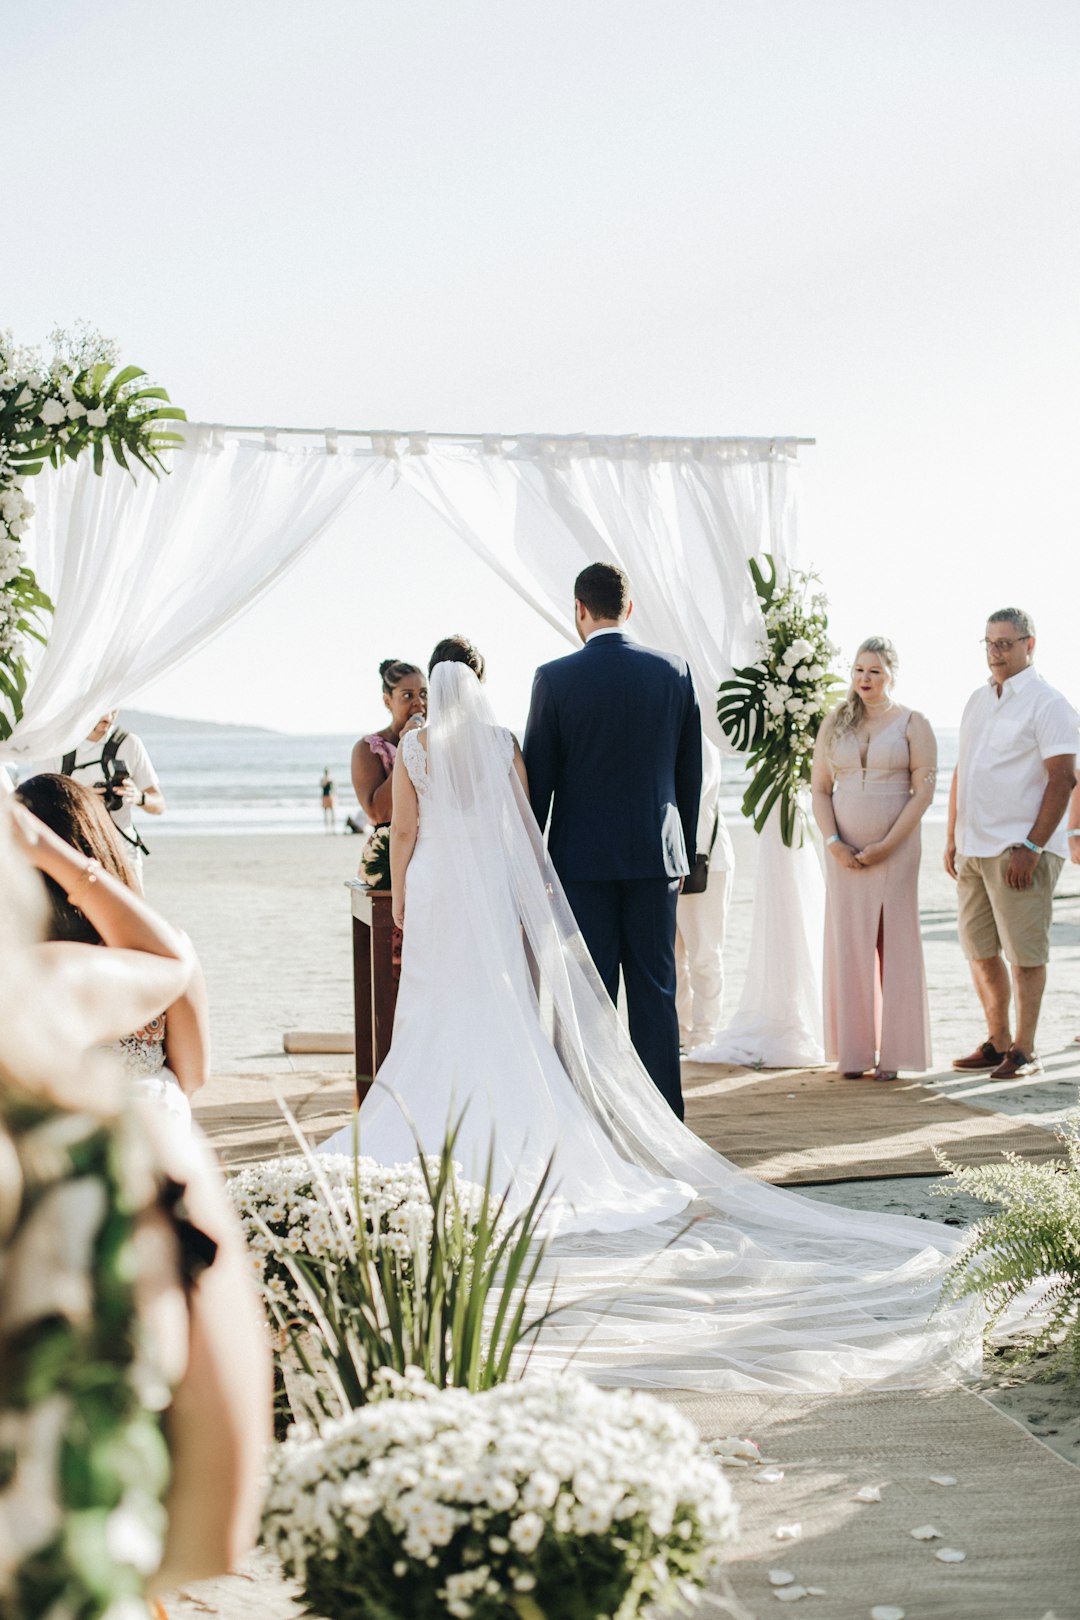
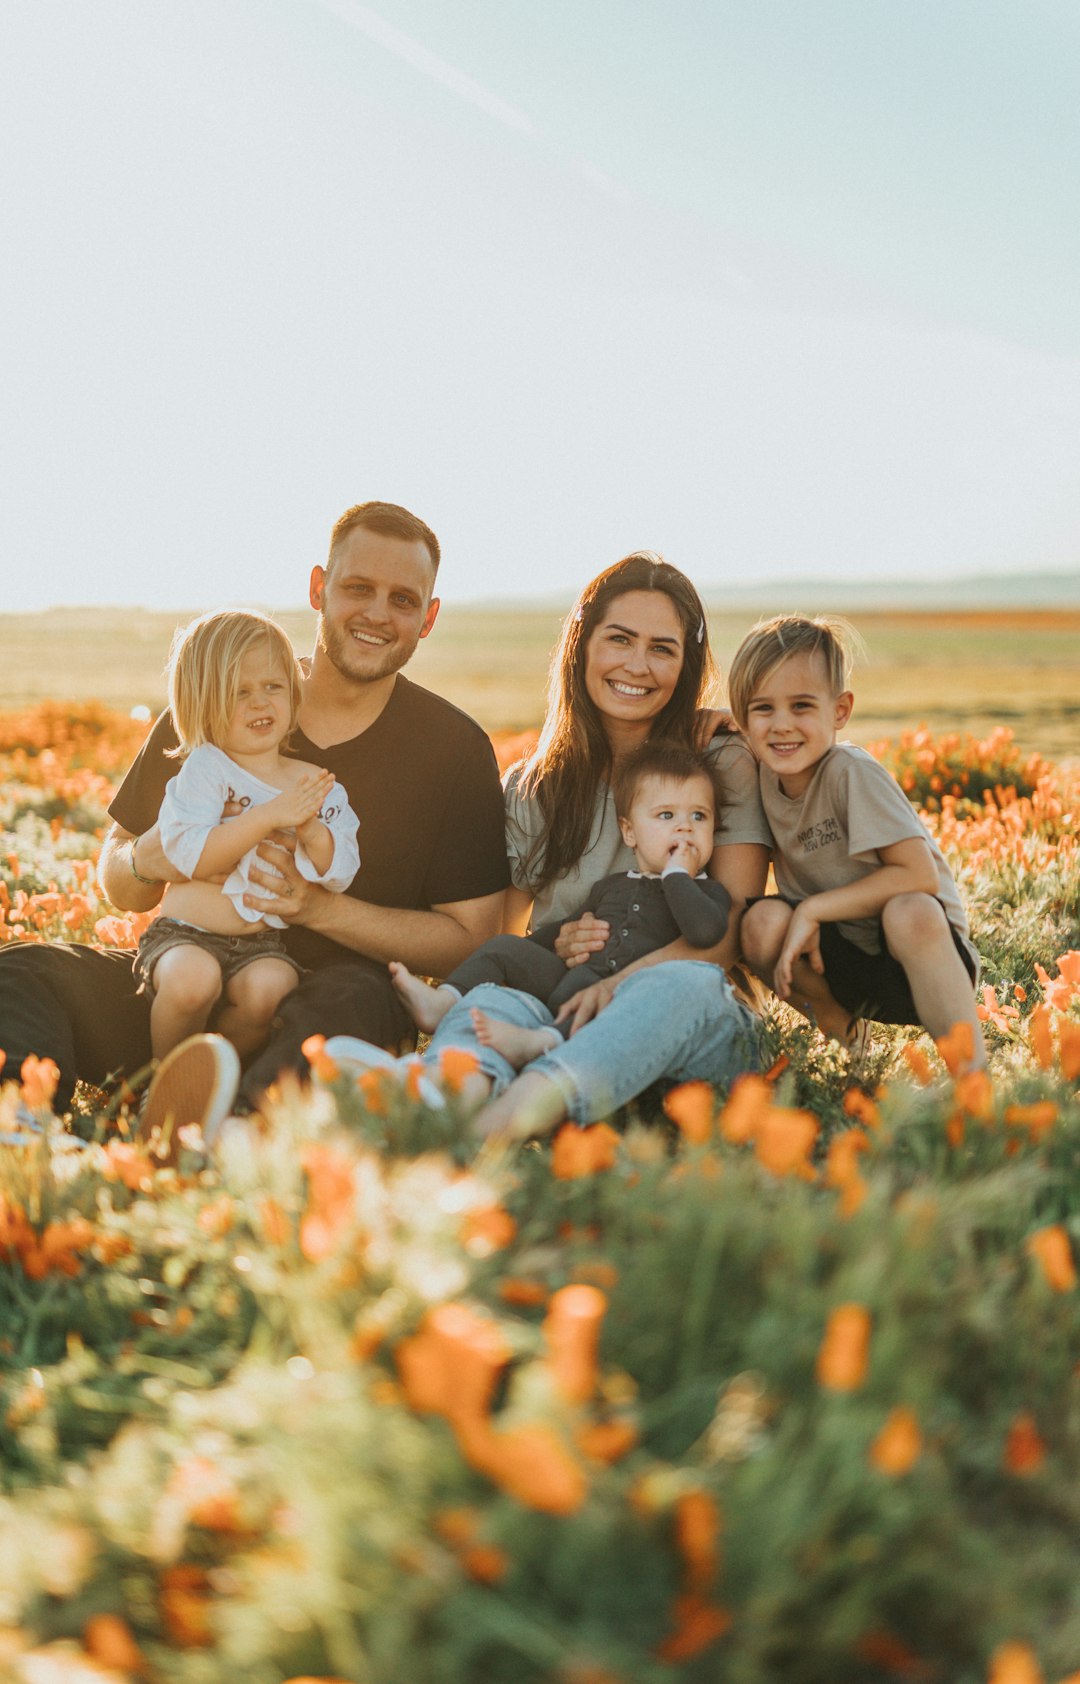
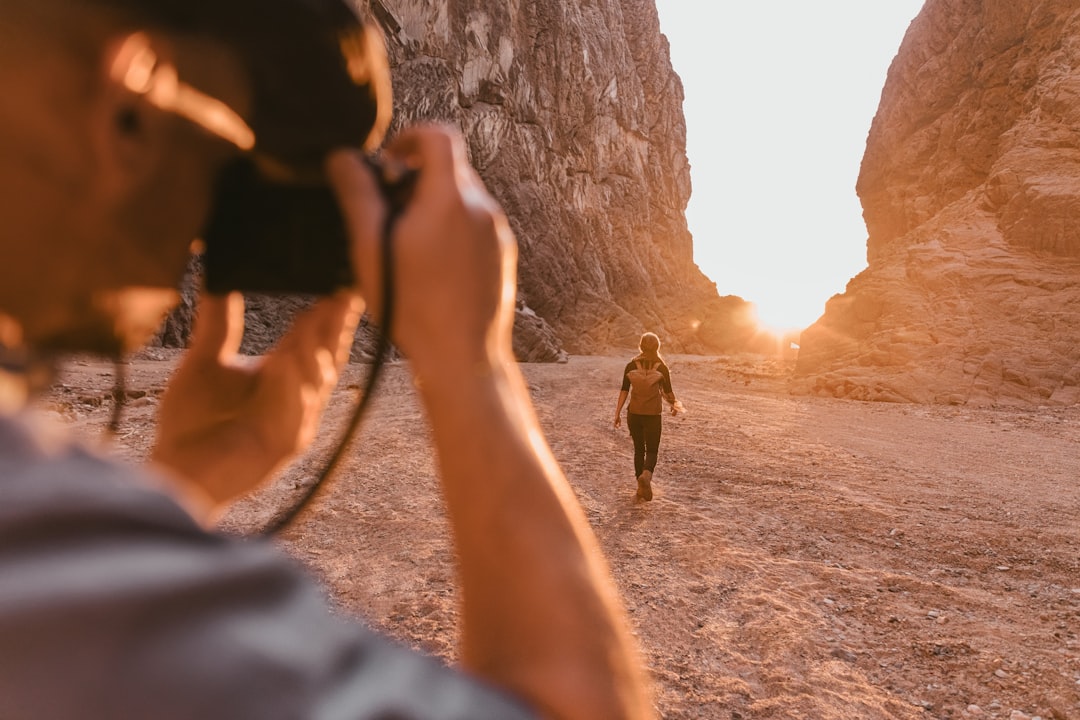
The hour after sunrise and before sunset provides soft, warm, directional light that's incredibly flattering for portraits. Position your subject so the light hits them at an angle (not straight on) to create dimension through gentle shadows.
Open Shade
When shooting in direct sunlight can be harsh, look for open shade—areas that are shaded but still receive plenty of ambient light. This could be under a tree, in the shadow of a building, or under a porch. Open shade provides soft, even lighting that's perfect for portraits.
Window Light
North-facing windows (in the Northern Hemisphere) provide soft, consistent light throughout the day. Position your subject at different angles to the window to create various lighting patterns. Use a reflector opposite the window to fill in shadows.
Using Reflectors
Reflectors are essential tools for natural light photographers. They bounce light back onto your subject to fill shadows. Different colors create different effects:
- White: Neutral, soft fill light
- Silver: Bright, contrasty fill light
- Gold: Warm, golden fill light
- Black: Used to subtract light and deepen shadows
Different natural light scenarios and how to use them for flattering portraits.
Basic Studio Lighting Setups
Studio lighting gives you complete control over your lighting environment. Let's explore fundamental setups:
1. One-Light Setup (Key Light Only)
The simplest studio setup uses just one light source. This versatile setup can create various looks depending on the light's position and quality:
- Butterfly lighting: Light placed directly in front of and above the subject, creating a small shadow under the nose
- Rembrandt lighting: Light at 45 degrees to subject, creating a small triangle of light on the shadowed cheek
- Split lighting: Light at 90 degrees to subject, illuminating exactly half the face
- Loop lighting: Light at 30-45 degrees, creating a small shadow of the nose that doesn't connect with the cheek shadow
2. Two-Light Setup (Key + Fill)
Adding a second light as fill allows you to control the contrast ratio between light and shadow sides of the face:
- Place the key light to create your desired lighting pattern
- Add a fill light on the opposite side, at lower power, to soften shadows
- Adjust the power ratio between key and fill to control contrast (e.g., 2:1 for low contrast, 4:1 or higher for dramatic contrast)
3. Three-Light Setup (Key + Fill + Backlight)
The classic three-point lighting setup adds a backlight (or hair light) to separate the subject from the background:
- Key light establishes the main lighting pattern
- Fill light controls shadow density
- Backlight creates separation and highlights hair and shoulders
4. Adding Background Lights
For more sophisticated setups, add lights specifically for the background:
- Use a snoot or grid to create a spotlight effect
- Use colored gels to add color to the background
- Create graduated backgrounds with careful light placement
Studio Lighting Tip:
Start with one light and master it before adding more lights. A single light with a reflector can create professional results. Remember that each additional light increases complexity and potential for lighting conflicts.
Light Modifiers and Their Effects
Light modifiers shape and control the quality of your light. Here are the most common ones:
Softboxes
Softboxes create soft, directional light. They come in various shapes and sizes:
- Rectangle: Versatile, creates catchlights that mimic window light
- Square: Balanced light spread
- Strip: Creates narrow, focused light perfect for full-length portraits or hair lights
- Octa: Produces circular catchlights and wraps light around the subject
Umbrellas
Umbrellas are affordable and portable modifiers that create soft, broad light:
- Shoot-through: Creates very soft, wrapping light
- Reflective: More efficient and directional than shoot-through
- Parabolic: Focused center with feathering edges
Beauty Dishes
Beauty dishes create a unique light quality—softer than a bare bulb but more contrasty than a softbox. They're ideal for fashion and beauty photography, providing crisp, yet flattering light with distinctive circular catchlights.
Grids, Snoots, and Barn Doors
These modifiers control light spill and create focused beams:
- Grids: Concentrate light into a narrow beam
- Snoots: Create small, circular spotlights
- Barn doors: Allow precise shaping of light with adjustable flaps
Comparison of different light modifiers and the quality of light they produce.
Classic Portrait Lighting Patterns
These traditional lighting patterns have stood the test of time for creating flattering portraits:
Butterfly Lighting
Place the light directly in front of and above the subject, aiming downward. This creates a small shadow under the nose that resembles a butterfly. It's flattering for most face shapes and emphasizes cheekbones.
Loop Lighting
Position the light at about 30-45 degrees to the subject and slightly above eye level. This creates a small shadow of the nose that angles down toward the corner of the mouth but doesn't connect with the shadow on the cheek. It's one of the most commonly used lighting patterns.
Rembrandt Lighting
Named after the painter who often used this lighting, this pattern places the light at about 45 degrees to the subject and higher than eye level. It creates a small triangle of light on the shadowed cheek. This dramatic lighting adds depth and dimension.
Split Lighting
Place the light at 90 degrees to the subject, illuminating exactly half the face while leaving the other half in shadow. This creates a dramatic, moody effect that can emphasize texture and character.
Broad and Short Lighting
These techniques refer to how the light falls on the face relative to the camera:
- Broad lighting: The side of the face turned toward the camera is illuminated. This can make faces appear wider.
- Short lighting: The side of the face turned away from the camera is illuminated. This slims the face and is often more flattering.
Advanced Techniques
Once you've mastered the basics, try these advanced techniques:
High-Key Lighting
High-key lighting uses bright, even lighting with minimal shadows. It creates a positive, airy mood. Achieve this by using multiple lights to evenly illuminate both subject and background, often with a higher key-to-fill ratio.
Low-Key Lighting
Low-key lighting uses dramatic, high-contrast lighting with deep shadows. It creates moody, mysterious images. Achieve this by using a single light source or very controlled lighting with a low key-to-fill ratio.
Clipping Light
This technique places the light directly behind the subject, just out of frame, so it "clips" along the edge of the subject. This creates a bright rim of light that separates the subject from the background.
Color Gels
Add colored gels to your lights to create mood, atmosphere, or creative effects. Use complementary colors for dynamic contrast or analogous colors for harmonious blends.
Pro Tip:
When working with multiple lights, turn them on one at a time to set each light individually. Start with your key light, then add fill light, then backlight, then background lights. This methodical approach prevents lighting conflicts and makes troubleshooting easier.
Mixing Natural and Artificial Light
Many professional photographers combine natural and artificial light for optimal results:
Fill Flash
Use flash to fill shadows in bright sunlight. Set your flash to output at about 1-2 stops less than the ambient light for natural-looking results.
Balancing Ambient and Studio Light
When shooting indoors with window light, you can add studio lights to complement or enhance the natural light. Match the color temperature of your artificial lights to the natural light for consistent results.
Creating Sunset Effects
Use gels on your strobes to match warm sunset light, then use them as your key light while underexposing the ambient light. This allows you to create "sunset" portraits at any time of day.
Troubleshooting Common Lighting Problems
Even experienced photographers encounter lighting challenges. Here's how to solve common issues:
- Harsh shadows: Use a larger light source, move light closer, or add fill light
- Flat lighting: Create dimension with side lighting or add a hair light
- Hot spots: Reposition lights or use diffusion to soften light
- Unwanted reflections: Change subject position or light angle
- Color casts: Set custom white balance or use color correction gels
Conclusion
Mastering portrait lighting is a journey that takes practice and experimentation. Start with natural light and a reflector, then gradually incorporate studio lights as you become more comfortable. Remember that there are no "right" or "wrong" lighting setups—only choices that either support or detract from your creative vision. The best lighting is the lighting that helps you tell the story you want to tell with your portraits.
Keep practicing, study the work of photographers you admire, and don't be afraid to experiment with unconventional lighting. Some of the most memorable portraits break the "rules" of traditional lighting in creative ways.
Comments (3)
Lisa Martinez
March 24, 2024This is exactly what I needed! I've been struggling with studio lighting, and the section on basic setups with diagrams is incredibly helpful. Can't wait to try the Rembrandt lighting technique.
Robert Kim
March 25, 2024Excellent article! I'd add that practicing with a mannequin or doll first can be really helpful when you're learning lighting patterns. It lets you experiment without the pressure of working with a live model.
Amanda Wilson
March 27, 2024As someone who primarily shoots with natural light, I found the section on mixing natural and artificial light particularly insightful. The tip about using gels to match sunset colors is genius!
Leave a Comment